

[ad_1]
I not too long ago acquired a query from a reader about the way to animate gradient or create an animated gradient background utilizing SwiftUI. The SwiftUI framework supplies plenty of built-in elements comparable to LinearGradient and AngularGradient for builders to render a gradient. And, SwiftUI additionally makes it very straightforward to create animation utilizing the .animation modifier. The query is how we will mix the gradient part and the .animation modifier to create animated gradients?
On this tutorial, we are going to talk about three approaches to implement an animated gradient together with:
- Animate the gradient by altering the beginning and finish level
- Animate the gradient utilizing the
.hueRotationmodifier - Animate the gradient utilizing
AnimatableModifier
I exploit Xcode 13 (beta) to jot down this tutorial, however the code also needs to work on Xcode 12.
Animate gradients by altering the beginning and finish level
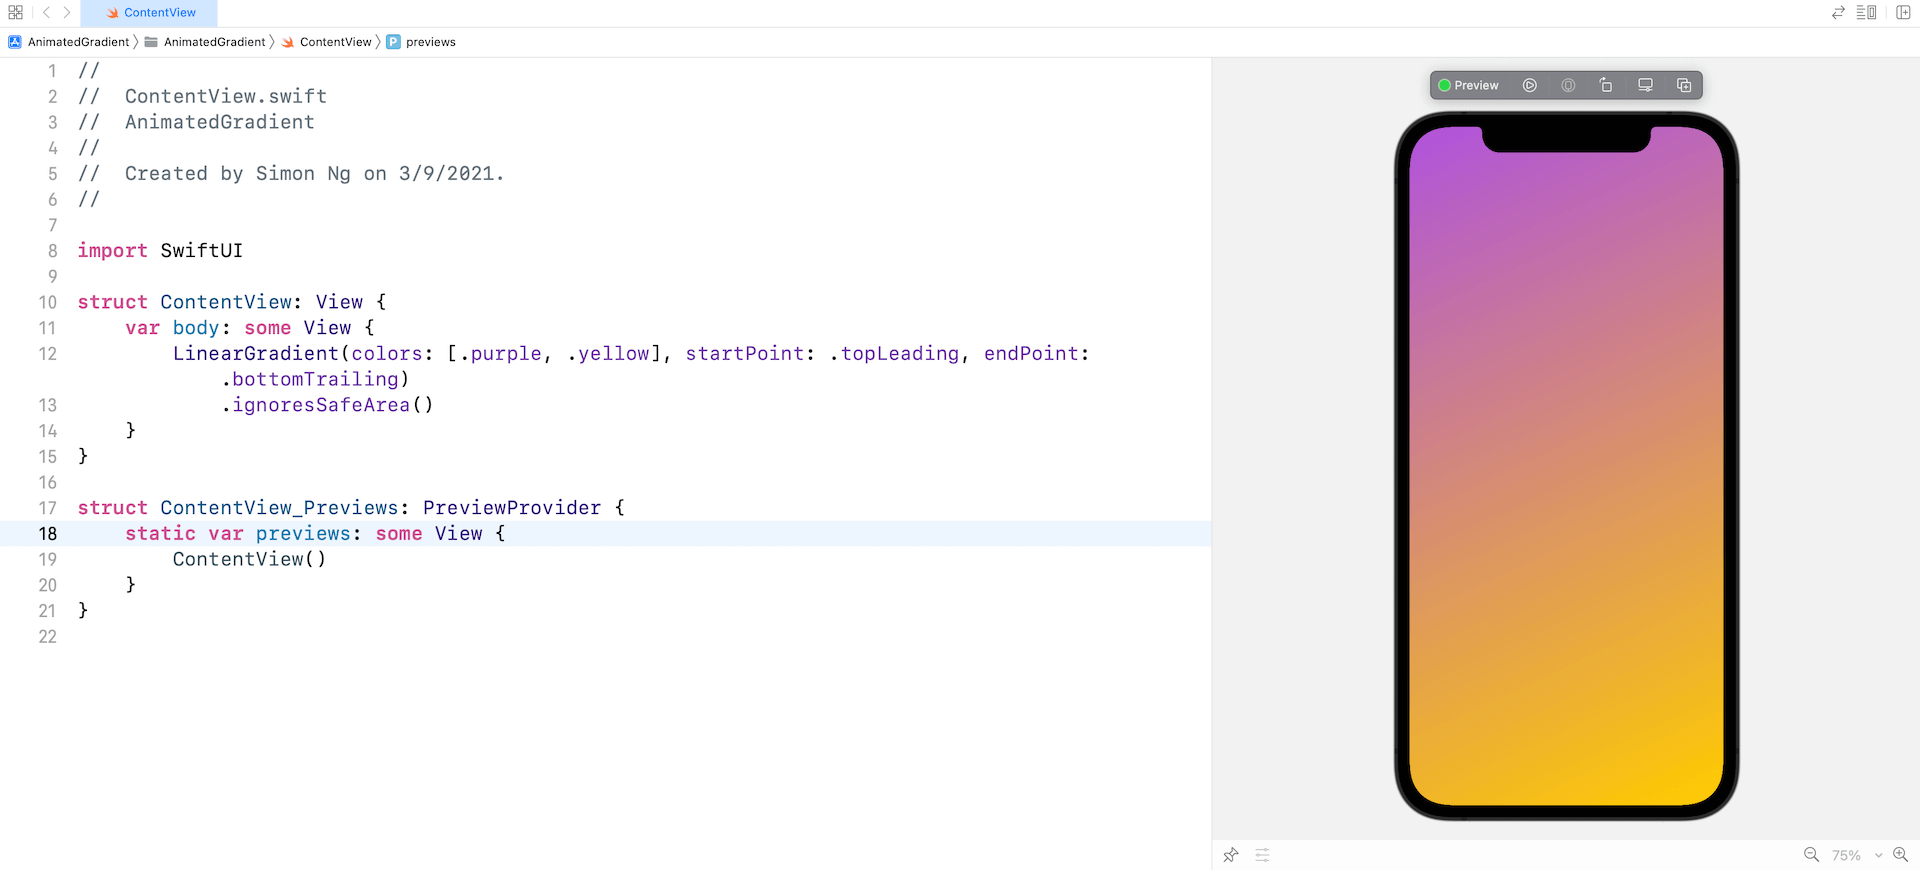
First, let’s begin with a easy linear gradient. Assuming you’ve created a SwiftUI venture in Xcode, you possibly can insert the next code in ContentView:
|
LinearGradient(colours: [.purple, .yellow], startPoint: .topLeading, endPoint: .bottomTrailing) .ignoresSafeArea() |
This creates a gradient of purple and yellow from the top-left nook to the bottom-right nook.
What I need to do subsequent is to animate the gradient coloration by altering the worth of the beginning and finish factors. When the animation begins, the beginning level will change from top-left nook to bottom-left nook, whereas the top level will change from bottom-right nook to top-right nook. To implement the animation, let’s declare a state variable to carry the standing of the animation:
|
@State personal var animateGradient = false |
For the LinearGradient view, replace the code like this:
|
LinearGradient(colours: [.purple, .yellow], startPoint: animateGradient ? .topLeading : .bottomLeading, endPoint: animateGradient ? .bottomTrailing : .topTrailing) .ignoresSafeArea() .onAppear { withAnimation(.linear(length: 2.0).repeatForever(autoreverses: true)) { animateGradient.toggle() } } |
When the view seems, we begin the animation to render the change of begin & finish level. For demo goal, we simply use the linear animation and set it to run repeatedly.
Now within the preview pane, run the demo to see the animated gradient.
The identical approach can apply to different gradients like RadialGradient. You’ll be able to modify the code like beneath to strive it out:
|
RadialGradient(colours: [.purple, .yellow], heart: .heart, startRadius: animateGradient ? 400 : 200, endRadius: animateGradient ? 20 : 40) .ignoresSafeArea() .onAppear { withAnimation(.linear(length: 2.0).repeatForever(autoreverses: true)) { animateGradient.toggle() } } |
Animate gradients utilizing Hue Rotation
In contrast to the primary strategy, this strategy creates an animated gradient by making use of adjustments to the hue rotation angle. SwiftUI has a built-in modifier known as .hueRotation for shifting all the colours in a view based mostly on the angle you specify.
For instance, in the event you connect the .hueRotation modifier to the linear gradient and shift the angle by 45 levels like this:
|
LinearGradient(colours: [.purple, .yellow], startPoint: .topLeading, endPoint: .bottomTrailing) .hueRotation(.levels(45)) .ignoresSafeArea() |
The gradient coloration shall be adjusted accordingly as proven within the determine beneath.

As you could discover, by animating the change of the hue rotation angle, we will additionally create an animated gradient. Assuming you already declared the animateGradient state variable, you possibly can modify the .hueRotation modifier like this:
|
LinearGradient(colours: [.purple, .yellow], startPoint: .topLeading, endPoint: .bottomTrailing) .hueRotation(.levels(animateGradient ? 45 : 0)) .ignoresSafeArea() .onAppear { withAnimation(.easeInOut(length: 5.0).repeatForever(autoreverses: true)) { animateGradient.toggle() } } |
After we toggle the state variable to true, SwiftUI will animate the change of the hue rotation angle and render the gradient animation.
Animate gradients utilizing AnimatableModifier
Let’s say, your view initially shows a gradient of purple and yellow from high to backside. You need to change the gradient coloration to a different set of coloration. How are you going to animate the change?
If you must this type of gradient animation, this strategy will suit you however it wants extra works than the opposite two approaches we simply mentioned.
In Swift, you possibly can outline a gradient utilizing the Gradient struct. Right here is an instance:
|
let gradient1 = Gradient(colours: [.purple, .yellow]) let gradient2 = Gradient(colours: [.blue, .purple]) |
SwiftUI can’t routinely animate the gradient change from one set of colours to a different set of coloration. We’ve got to create our personal implementation by adopting the AnimatableModifier protocol. In case you are new to the protocol, we have now an in-depth dialogue in our Mastering SwiftUI ebook.
Now let’s create a struct known as AnimatableGradientModifier which adopts the AnimatableModifier protocol to animate the gradient change:
|
1 2 3 4 5 6 7 8 9 10 11 12 13 14 15 16 17 18 19 20 21 22 23 24 25 26 27 28 29 30 31 32 33 34 |
struct AnimatableGradientModifier: AnimatableModifier { let fromGradient: Gradient let toGradient: Gradient var progress: CGFloat = 0.0
var animatableData: CGFloat { get { progress } set { progress = newValue } }
func physique(content material: Content material) –> some View { var gradientColors = [Color]()
for i in 0..<fromGradient.stops.rely { let fromColor = UIColor(fromGradient.stops[i].coloration) let toColor = UIColor(toGradient.stops[i].coloration)
gradientColors.append(colorMixer(fromColor: fromColor, toColor: toColor, progress: progress)) }
return LinearGradient(gradient: Gradient(colours: gradientColors), startPoint: .topLeading, endPoint: .bottomTrailing) }
func colorMixer(fromColor: UIColor, toColor: UIColor, progress: CGFloat) –> Colour { guard let fromColor = fromColor.cgColor.elements else { return Colour(fromColor) } guard let toColor = toColor.cgColor.elements else { return Colour(toColor) }
let crimson = fromColor[0] + (toColor[0] – fromColor[0]) * progress let inexperienced = fromColor[1] + (toColor[1] – fromColor[1]) * progress let blue = fromColor[2] + (toColor[2] – fromColor[2]) * progress
return Colour(crimson: Double(crimson), inexperienced: Double(inexperienced), blue: Double(blue)) } } |
This struct takes within the preliminary gradient (i.e. fromGradient) and the goal gradient (i.e. toGradient) as enter parameters. The progress variable retains monitor of the change of gradient. The preliminary worth is ready to 0. When the worth is ready to 1, this implies the gradient coloration utterly adjustments to the colour set of toGradient.
I discussed earlier than that it’s our duty to have our personal implementation for the colour change. Within the code above, we created a operate named colorMixer (ref: due to SwiftUI-lab) to compute the ensuing coloration based mostly on fromColor, toColor, and the given progress.
Because the progress worth adjustments over time, the physique half creates the LinearGradient view utilizing the computed colours.
That is how we animate the change from one set of gradient coloration to a different set. For comfort functions, create a view extension to use the AnimatableGradientModifier:
|
extension View { func animatableGradient(fromGradient: Gradient, toGradient: Gradient, progress: CGFloat) –> some View { self.modifier(AnimatableGradientModifier(fromGradient: fromGradient, toGradient: toGradient, progress: progress)) } } |
Now you possibly can replace ContentView like this to make use of the animatableGradient modifier:
|
1 2 3 4 5 6 7 8 9 10 11 12 13 14 15 16 17 |
struct ContentView: View { @State personal var progress: CGFloat = 0 let gradient1 = Gradient(colours: [.purple, .yellow]) let gradient2 = Gradient(colours: [.blue, .purple])
var physique: some View {
Rectangle() .animatableGradient(fromGradient: gradient1, toGradient: gradient2, progress: progress) .ignoresSafeArea() .onAppear { withAnimation(.linear(length: 5.0).repeatForever(autoreverses: true)) { self.progress = 1.0 } } } } |
I attempted to run the app within the preview pane however it didn’t render the animation correctly. To check the gradient animation, you higher use the iPhone simulator.
[ad_2]