

[ad_1]
Previous to iOS 15, SwiftUI didn’t include a built-in modifier for dealing with search in Checklist views. Builders must create your individual answer. We’ve got written a tutorial exhibiting you the way to implement a search bar in SwiftUI utilizing TextField and show the search end result. With the discharge of iOS 15, the SwiftUI framework brings a brand new modifier named searchable to Checklist views.
On this tutorial, we are going to look into this modifier and see simply it’s to implement seek for an inventory.
Primary Utilization of Searchable
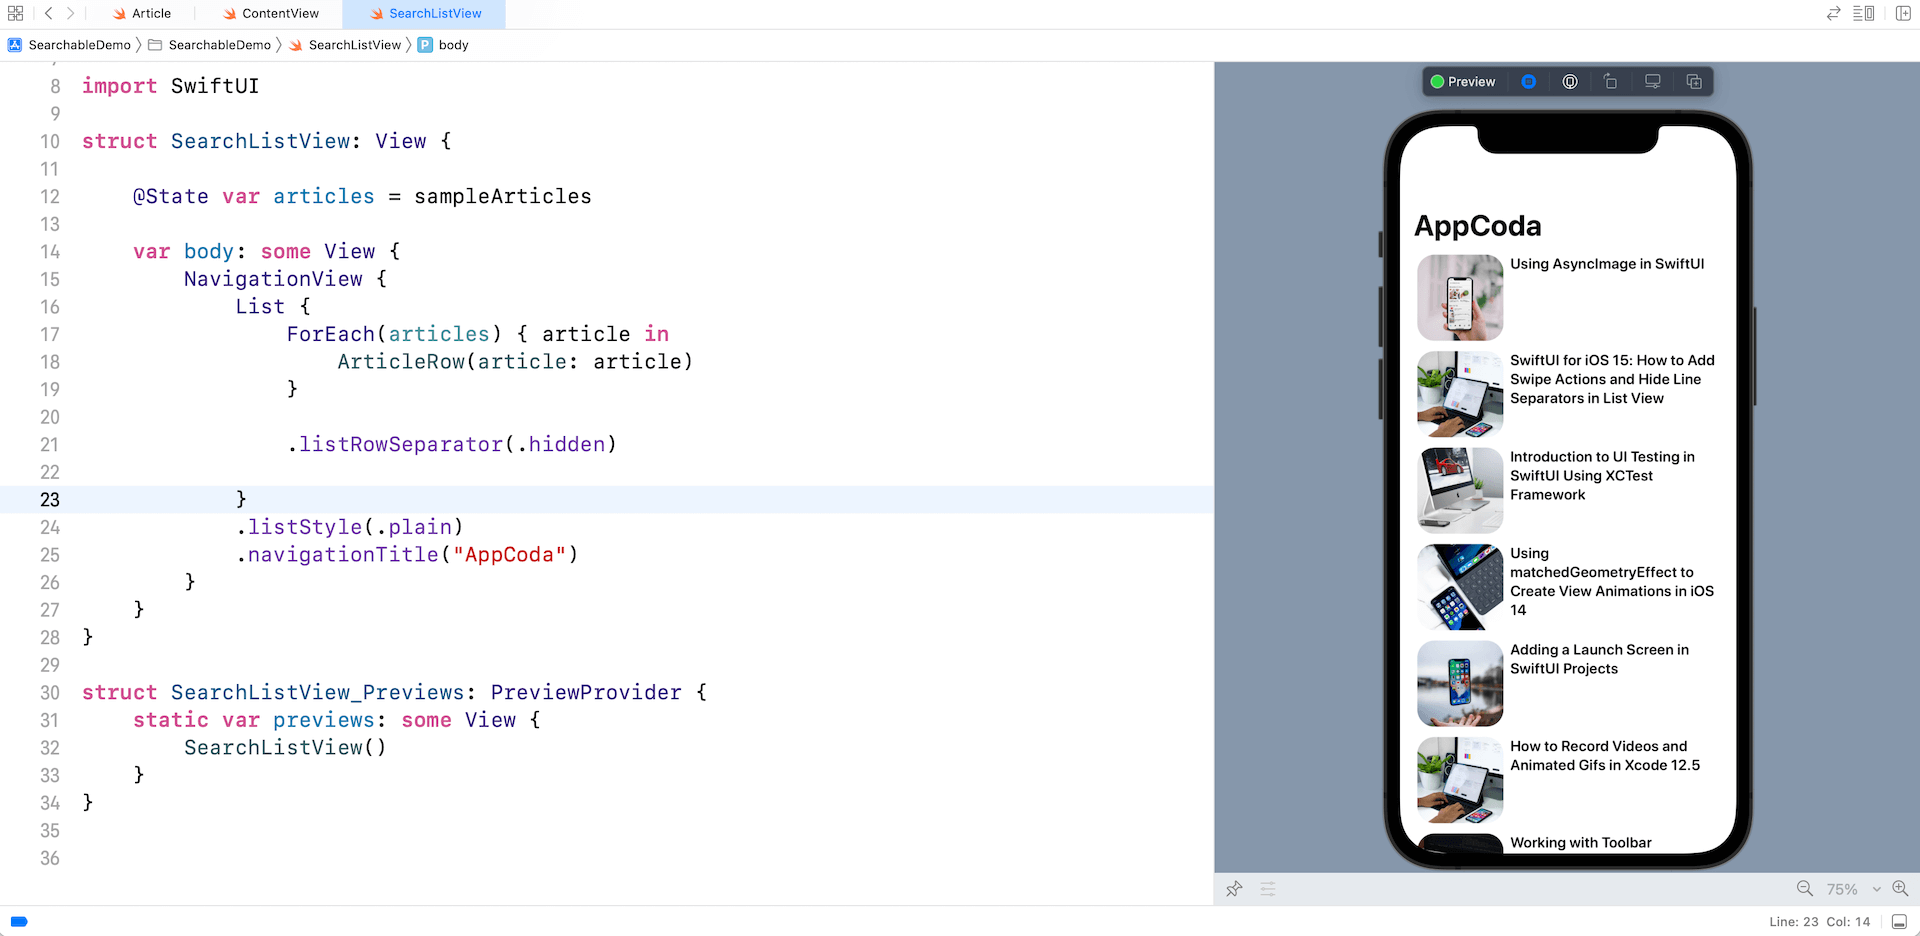
Let’s suppose you’ve created an inventory view to show a set of article and wish to present a search bar for filtering the articles. So as to add a search bar to the record view, all it’s good to do is declare a state variable to carry the search textual content and fix a searchable modifier to the NavigationView like this:
|
struct SearchListView: View {
@State var articles = sampleArticles @State non-public var searchText = “”
var physique: some View { NavigationView { . . . } .searchable(textual content: $searchText) } } |
SwiftUI robotically renders the search bar for you and put it beneath the navigation bar title.
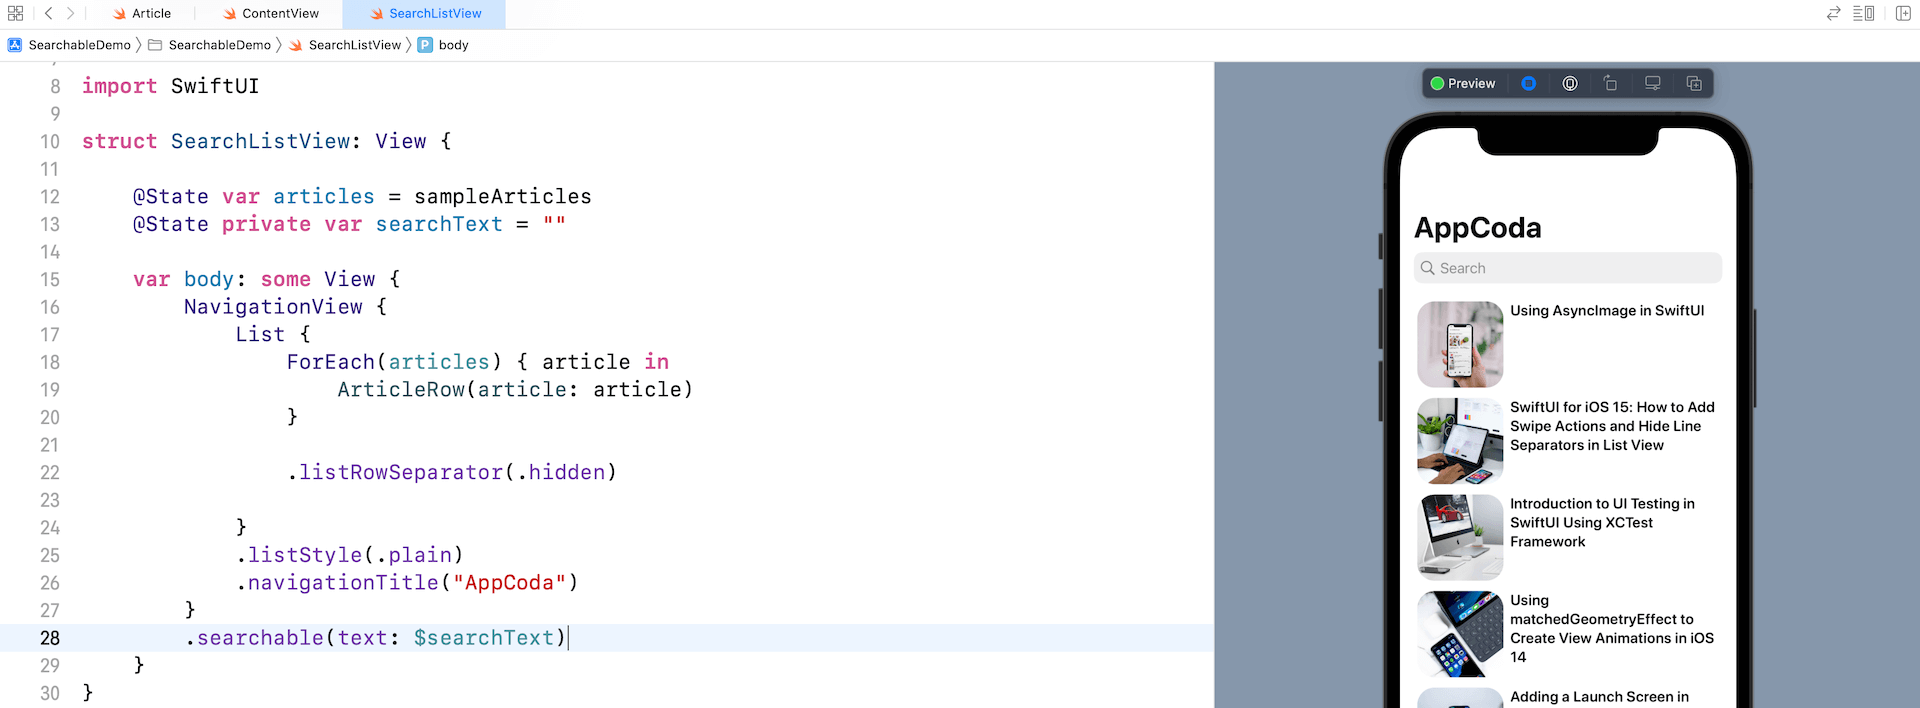
By default, it shows the phrase Search as a placeholder. In case if you wish to change it, you may write the .searchable modifier like this and use your individual placeholder worth:
|
.searchable(“Search articles…”, textual content: $searchText) |
Search Bar Placement
The .searchable modifier has a placement parameter so that you can specify the place to put the search bar. By default, it’s set to .automated. On iPhone, the search bar is positioned beneath the navigation bar title. Whenever you scroll up the record view, the search bar shall be hidden.

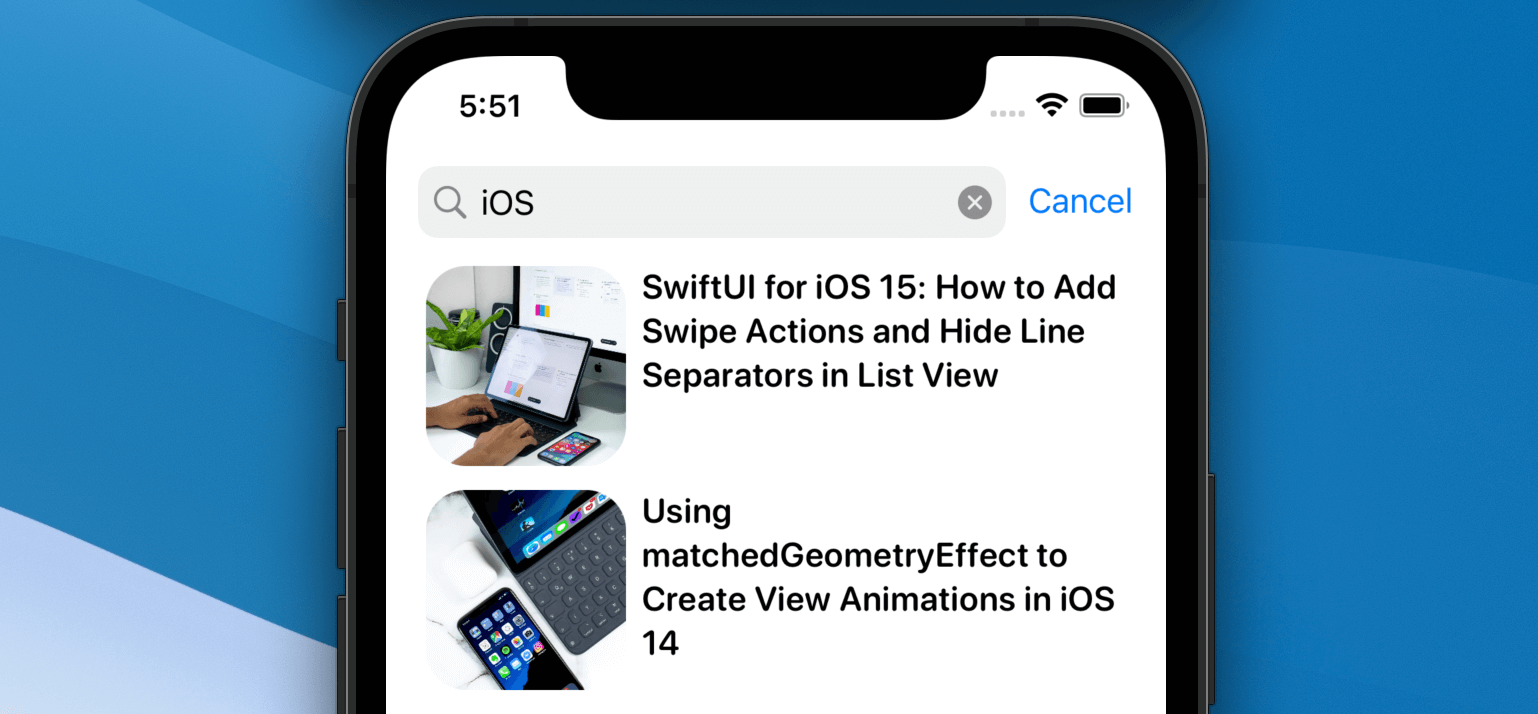
If you wish to completely show the search discipline just like the one proven above, you may change the .searchable modifier and specify the placement parameter like this:
|
.searchable(textual content: $searchText, placement: .navigationBarDrawer(displayMode: .all the time)) |
To this point, we connect the .searchable modifier to the navigation view. You may really connect it to the Checklist view and obtain the identical end result on iPhone.
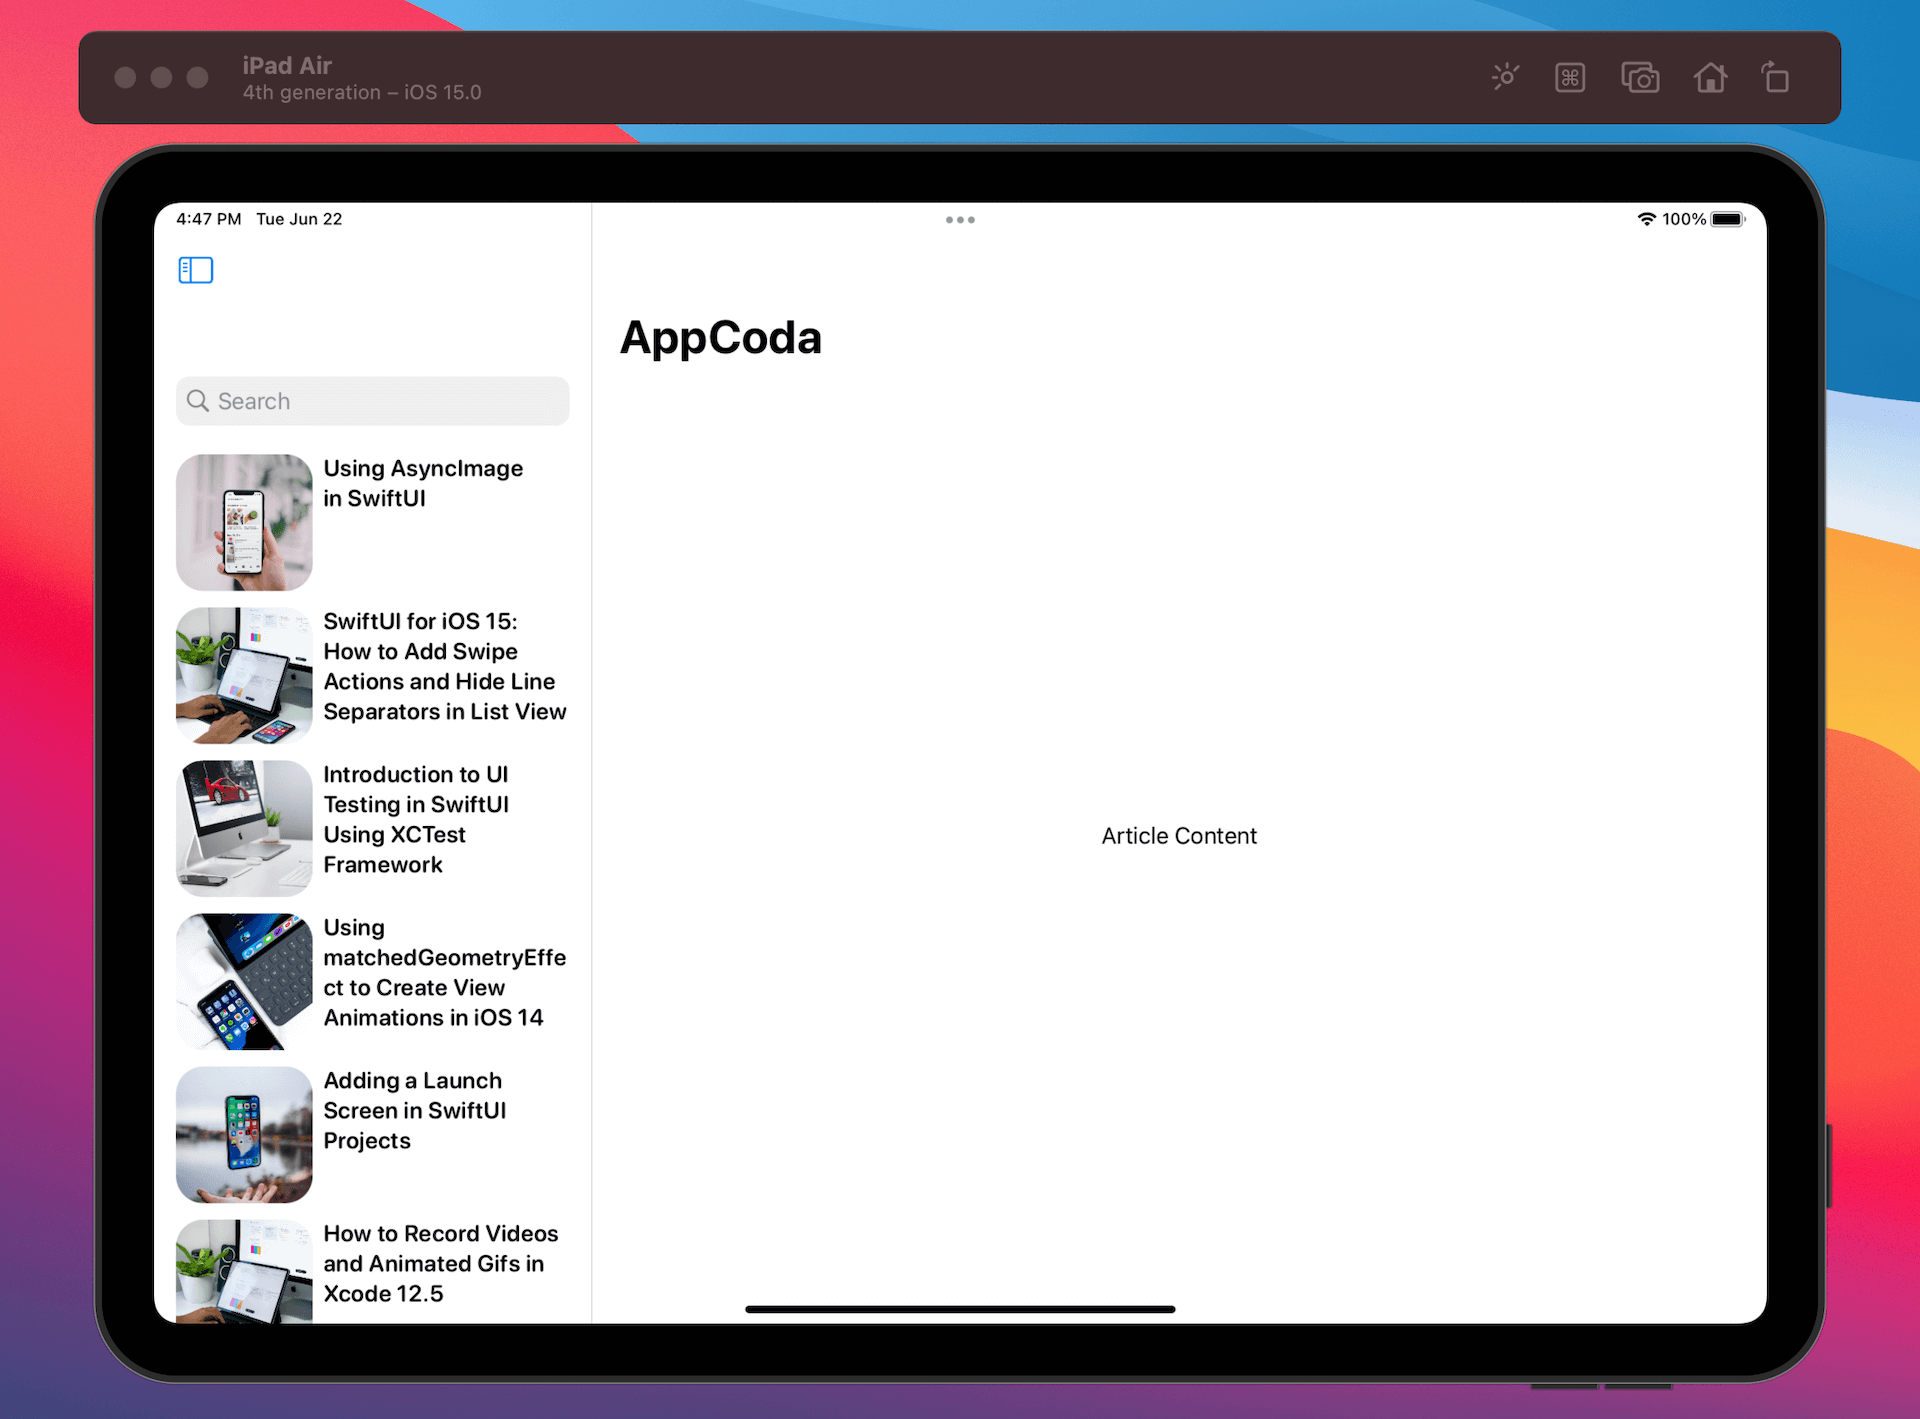
That mentioned, the location of the .searchable modifier impacts the place of the search discipline when utilizing Splitview on iPad OS. Check out the next pattern code:
|
1 2 3 4 5 6 7 8 9 10 11 12 13 14 15 16 17 18 |
NavigationView { Checklist { ForEach(articles) { article in ArticleRow(article: article) }
.listRowSeparator(.hidden)
} .listStyle(.plain)
Textual content(“Article Content material”)
.navigationTitle(“AppCoda”)
} .searchable(textual content: $searchText) |
As traditional, we connect the .searchable modifier to the navigation view. On this case, the search bar is displayed on the sidebar of the break up view.
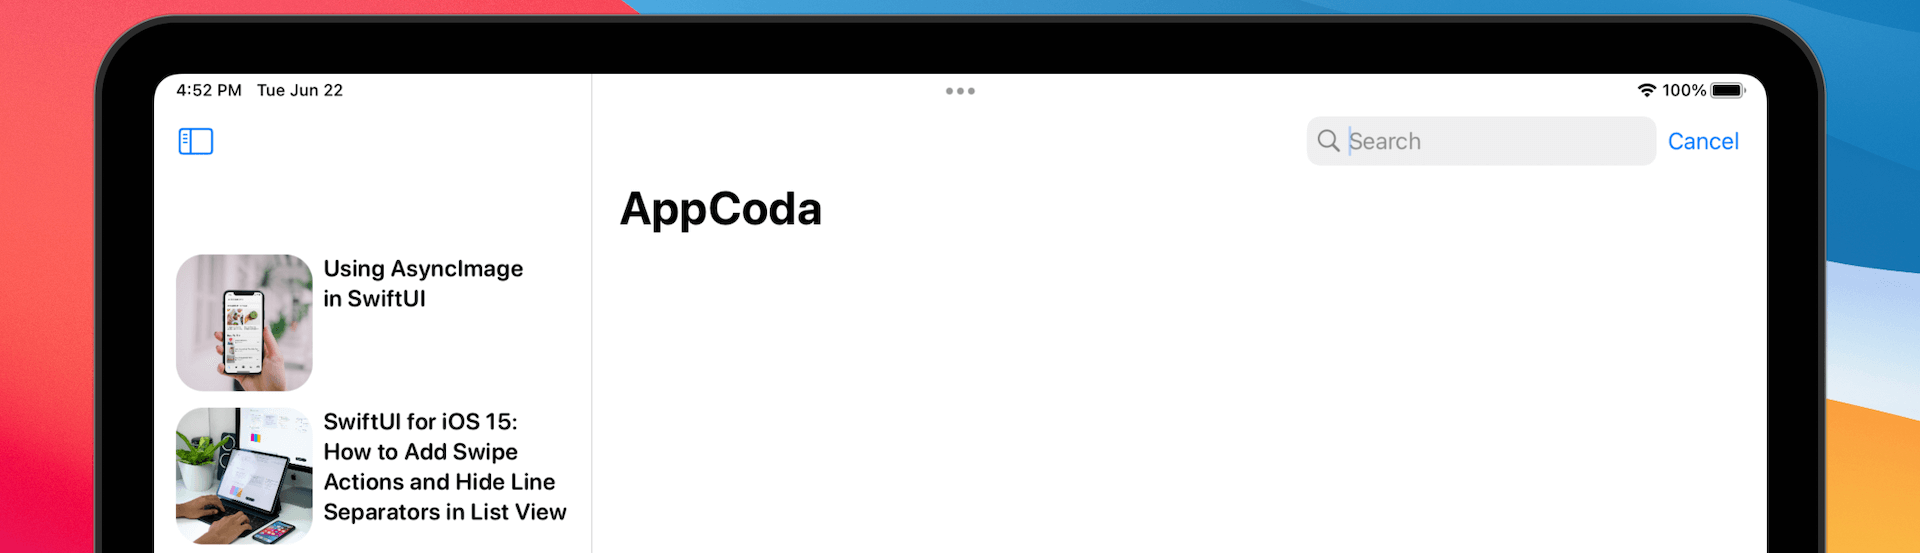
What if you wish to place the search discipline within the element view? You may simply connect the .searchable modifier to the Textual content view of the pattern code.
|
Textual content(“Article Content material”) .searchable(textual content: $searchText) |
iPadOS will then render the search bar on the prime proper nook of the element view.
Once more, you may additional change the location of the search bar by adjusting the worth of the placement parameter. Right here is an instance:
|
.searchable(textual content: $searchText, placement: .navigationBarDrawer) |
By setting the placement parameter to .navigationBarDrawer, iPadOS locations the search discipline beneath the navigation bar title.

Performing Search and Displaying Search Outcomes
There are other ways to filter the record of knowledge. It’s possible you’ll create a computed property that performs the information filtering in real-time. Alternatively, you may connect the .onChange modifier to maintain observe of the change of the search discipline. Each time the person sorts within the search discipline, you carry out the search in real-time. Here’s a pattern code snippet:
|
1 2 3 4 5 6 7 8 9 10 11 12 13 14 15 16 17 18 19 20 21 22 |
NavigationView { Checklist { ForEach(articles) { article in ArticleRow(article: article) }
.listRowSeparator(.hidden)
} .listStyle(.plain)
.navigationTitle(“AppCoda”) } .searchable(textual content: $searchText) .onChange(of: searchText) { searchText in
if !searchText.isEmpty { articles = sampleArticles.filter { $0.title.comprises(searchText) } } else { articles = sampleArticles } } |
Including Search Options
The .searchable modifier enables you to add an inventory of search solutions for displaying some generally used search phrases or search historical past. For instance, you may create tappable search suggestion like this:
|
.searchable(textual content: $searchText) { Textual content(“SwiftUI”).searchCompletion(“SwiftUI”) Textual content(“iOS 15”).searchCompletion(“iOS 15”) } |
This shows a search suggestion with two tappable search phrases. Customers can both kind the search key phrase or faucet the search suggestion to carry out the search.

Abstract
iOS 15 brings one other welcome function for the SwiftUI framework. The .searchable modifier simplifies the implementation of search bar and save us time from creating our personal answer. The draw back is that this function is barely out there on iOS 15 (or later). In case you are constructing an app that should help the older variations of iOS, you’ll nonetheless have to construct your individual search bar.

Founding father of AppCoda. Writer of a number of iOS programming books together with Starting iOS Programming with Swift and Mastering SwiftUI. iOS App Developer and Blogger. Observe me at Fb, Twitter and Google+.
[ad_2]